
Have you ever wanted to sit down and study, but your room is a total mess? You start with big goals, but five minutes later, you feel like, “Ugh, I can’t do this here.” If that’s you, you need to read this DIY study table guide to the end.
Trust me—I’ve been there, too. But it’s not your fault! Your environment plays a crucial role in how motivated and focused you feel. The good news? You don’t need a Pinterest-perfect room or expensive furniture to create a space that makes you want to get things done.
Here’s a step-by-step guide to turning even the messiest corner into a budget-friendly, aesthetic study zone—main character vibes included.
1. Pick the Right Study Spot
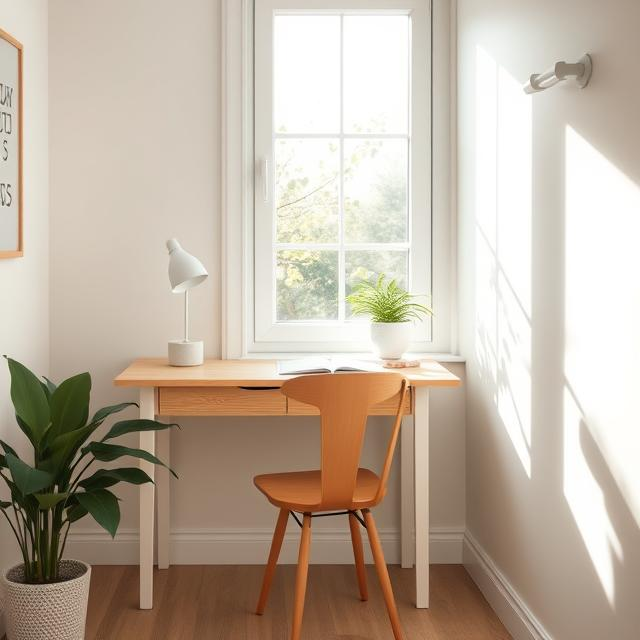
Image generated by Deepai image generator
Start with the basics: location. Look for a place with natural light—sunlight boosts your mood and keeps you awake while studying. Aim for a quiet, peaceful corner that’s as free from distractions as possible.
If you’re in a shared room, that’s okay! Just claiming a small space near a window or a cozy wall can make all the difference.
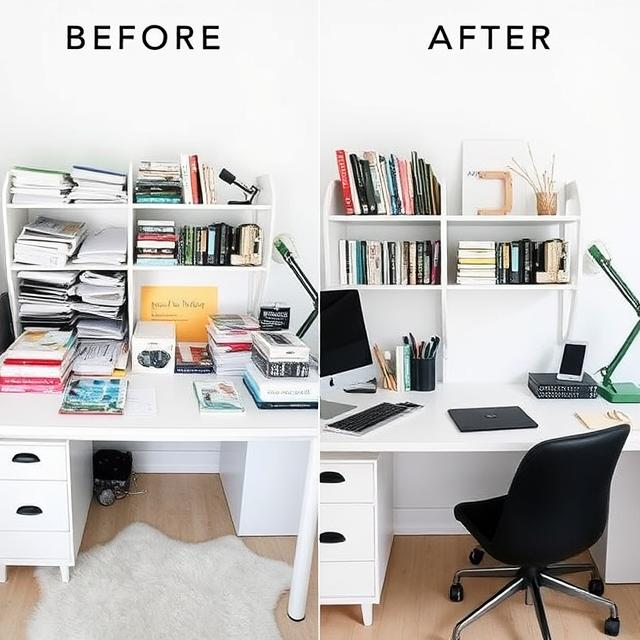
2. Declutter and Clean Your Area
I know… cleaning isn’t fun. But it’s a game-changer.
Start by removing anything that doesn’t belong. May it be snacks, wires, old notebooks, or random clutter. Wipe down your surface and then organize your supplies. Use trays, boxes, or containers and label them to keep everything tidy. A clean space = a clear mind.
3. Set Up Your Table and Chair (or Floor Alternative)
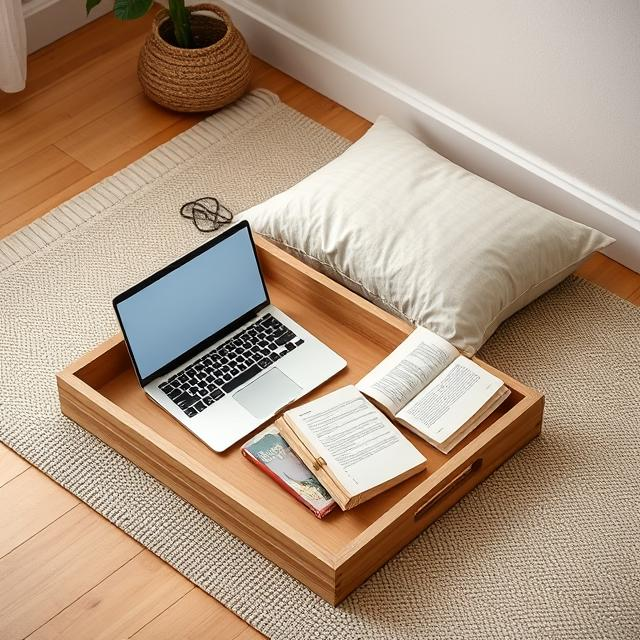
If you already have a desk and chair, great! Set them up neatly with your supplies. But if you don’t, no stress.
Use a dining table or create a floor setup with a tray and cushions. Foldable desks, repurposed furniture, or a large tray can all serve as your mini study station. Don’t wait for a perfect setup—make it work with what you have.
4. Remove Distractions

Now that your area is clean and set up, it’s time to eliminate all distractions. Keep only your essentials nearby: books, stationery, maybe a laptop or tablet. That’s it.
A clean, minimal space instantly makes you feel more in control. And that’s how you step into your “study girl/boy” era.
5. Add Lighting and Cozy Touches
Lighting can change everything. Add a cute desk lamp, fairy lights, or a small warm-toned LED bulb. Soft lighting feels cozy and calming and makes your space much more inviting.
Add a comfy pillow or small blanket if you’re studying on the floor or bed. You should go for a space that feels like a warm hug every time you sit down to work.
6. DIY Storage Hacks
You don’t need fancy organizers. Use what you already have!
- A mug for pens
- Old jars for clips or supplies
- Shoe boxes for notebooks or books
To achieve the most aesthetic vibes, decorate them with washi tape, wrapping paper, or pastel-colored sheets. It’s the little touches that make your space feel yours.
7. Decorate on a Budget
Here’s where the fun begins! Add a calendar to track deadlines or a vision board with your dream goals.
Hang motivational quotes, aesthetic printouts, or Polaroid-style photos. Even a fake plant can bring life to the space—or make your own with paper! Use Pinterest for free printable decor ideas and get crafty with scissors, glue, and creativity.
8. Create a Tech Corner + Stay Digitally Focused
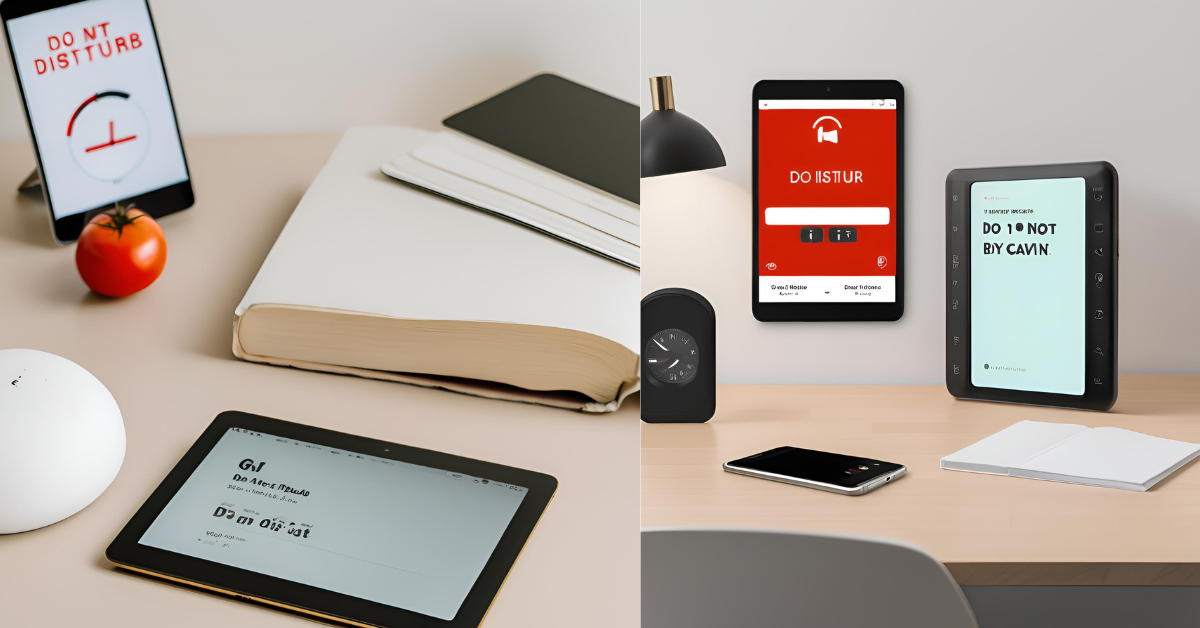
Keep your phone or tablet in a separate corner to avoid temptation. Turn on Do Not Disturb mode and try focus apps like Forest or a Pomodoro timer.
When your phone isn’t constantly pulling your attention, you’ll be amazed how deep into focus mode you can get.
9. Set the Sound Vibe
Sound affects your mood. Play lo-fi beats, white noise, or calming background music. If your home is noisy, try noise-canceling headphones—even budget-friendly ones work great.
The right sound environment = study mood unlocked.
10. Scent Your Space (Optional, But Powerful)

This step is optional—but magical.
On a budget? Hang an herbal tea bag near your desk—it gives off a subtle, calming scent. If you can, light a scented candle or use a drop of essential oil. Calming scents can make your study space feel safe, peaceful, and inspiring.
Conclusion
There you go—a complete, no-stress guide to creating a study space that’s:
- Cozy
- Aesthetic
- Budget-friendly
- AND genuinely motivating
You don’t need a total room makeover—just a few intentional changes can make a huge difference in how inspired you feel.
Which of these tips are you going to try first? Let me know in the comments below!
FAQS
How to Decorate a Study Table on a Budget?
Your study table deserves a little makeover, right? And nope, you don’t need to drop a ton of cash. Here are some chill, budget-friendly ways to make it look cute and help you get stuff done.
Add a Little Green: Plants always get the vibe. A tiny succulent, a money plant, or even a cute leafy buddy in a jar can brighten up your space, and they help with air too. No fancy pots needed—grab an old mug, jar, or bottle, and boom, you have a DIY planter ready.
Let Your Stationery Shine: Your pens and notebooks can be part of the decor! Line up your colorful stationery in a cute tray or throw them in a mug-turned-pen-holder. It’s practical, pretty, and gives an organized energy.
Add Some Wall Personality: Bare walls? No thanks. Hang up a few posters, scribble out your favorite quotes, or repurpose old calendars and magazine pages to make fun little art corners. This gives you instant inspiration every time you look up.
Get Crafty with Organizers: No drawer? No drama. Make your storage boxes or trays from cardboard, fabric scraps, or whatever is lying around idle. It’s a fun little project that keeps your desk looking cute and clutter-free.
Light It Up: A cozy study setup needs the perfect lighting. Grab a budget-friendly desk lamp or string up some fairy lights. Go for warm tones—they make your space feel chill and super inviting.
How Do You Set Up a Study Table?
Setting up your study space doesn’t have to be complicated. It’s all about making it comfy, organized, and yours—so you want to sit down and get things done.
Pick Your Spot: Find a chill corner near a window for that natural sunlight boost. If that’s not an option, go somewhere quiet and low on distractions.
Get Comfy with Your Furniture: You don’t need fancy stuff—make sure your chair supports your back and the table is the right height so you’re not hunching or straining while writing or typing.
Keep the Must-Haves Close: Set up your books, notebooks, pens, and gadgets within reach so you can grab them without digging through piles. Use trays, baskets, or shelves to keep it all neat.
Add a Bit of “You Vibe”: Make the space feel like yours. A little plant, a photo, or a quote that pumps you up can make your table way more inviting.
Stay on Top of the Mess: Tidy it up every day. A clutter-free desk makes a huge difference in how motivated you feel—plus, it just looks better.
What to Use If You Don’t Have a Desk?
Not everyone has a fancy study desk—and that’s okay. You can still make a comfy, productive setup with stuff you already have or a few affordable finds.
Use the dining table: Claim a corner of your dining table for study hours. Set it up with your essentials and clear it off when you’re done.
Try a foldable table. Foldable tables are a game-changer. They’re budget-friendly, super easy to move around, and you can tuck them away when you’re not using them.
Get a lap desk: Studying from your bed or couch? A lap desk keeps your laptop and notebooks steady while saving your back from bad angles.
Wall-Mounted Shelves = Instant Desk: If you’re short on space, try installing a sturdy shelf at desk height. Pair it with a chair and boom—you’ve got a mini workstation.
Repurpose What You Have: That old dresser or side table? It could double as a study spot. Just clear off the top and add a chair. Done and done.
What Is the Best Material for a Study Table?
When picking the right study table, the material matters—especially if you’re thinking long-term. Here’s a quick guide to help you choose what works best for your vibe, budget, and space.
Wood: Classic and super sturdy solid wood tables last forever and look amazing but can be pricey.
Engineered Wood (MDF or Particle Board): Budget-friendly and lightweight with various design options. Just keep in mind that it’s not as solid as wood.
Metal: A good option for a modern, minimalist look. Metal tables are strong and low-maintenance, plus they fit into most room styles.
Glass: A glass table is very aesthetic and sleek, but you’ll need to handle it carefully and keep it clean unless you want fingerprint art all over it.
Plastic: It’s lightweight, cheap, and easy to move around. It’s perfect if you’re on a budget but not ideal for heavy-duty studying long-term.
Bottom line? Pick what fits your style, your space, and what you’re comfortable spending. There’s no “one right choice”—just what works best for you.


Very good https://lc.cx/xjXBQT
Thanks for the feedback, Andrew. Let us know what you would like us to write about next.